How to Clay Bar a Car: The Ultimate Guide to Clay Barring
Learn how to clay bar your car to remove contaminants, enhance shine, and protect the paint. Achieve a smooth and professional finish with our clay barring guide.
Use AI to summarize this article:
There’s a certain feel to a freshly detailed car that a regular car wash can never replicate. That silky-smooth surface, free of rough patches and hidden grit, is often the result of one hidden step in car care: clay barring. It’s not reserved for professional detailing services anymore.
With the right materials and a little patience, anyone can safely clay bar their car at home and get professional-level results.
What is a Clay Bar?
A clay bar is a soft, pliable detailing tool used to extract bonded contaminants from a car’s clear coat. Clay bar lifts embedded particles like brake dust, tree sap, and industrial fallout, restoring smoothness. These pollutants don’t just dull your paint; they accelerate oxidation, cause water spots, and degrade protective coatings. If your paint still feels rough after washing, that’s a sign your vehicle needs a clay bar treatment.
Clay bars are used before waxing or polishing to enhance finish quality and protect the paint.
Step-by-Step Instructions to Clay Bar a Car
Tools and Materials You’ll Need
- Clay bar (fine or medium grade)
- Clay lubricant or high-quality detailing spray
- Microfiber towels
- pH-neutral car wash shampoo
- Buckets, mitt, and clean water
Step 1: Wash Your Car Thoroughly
Use a pH-balanced car shampoo to remove loose dirt and debris. This prevents dragging abrasive particles during the clay process.
Step 2: Lightly Dry the Car
Pat-dry with a microfiber towel. A slightly damp surface enhances clay glide and reduces friction.
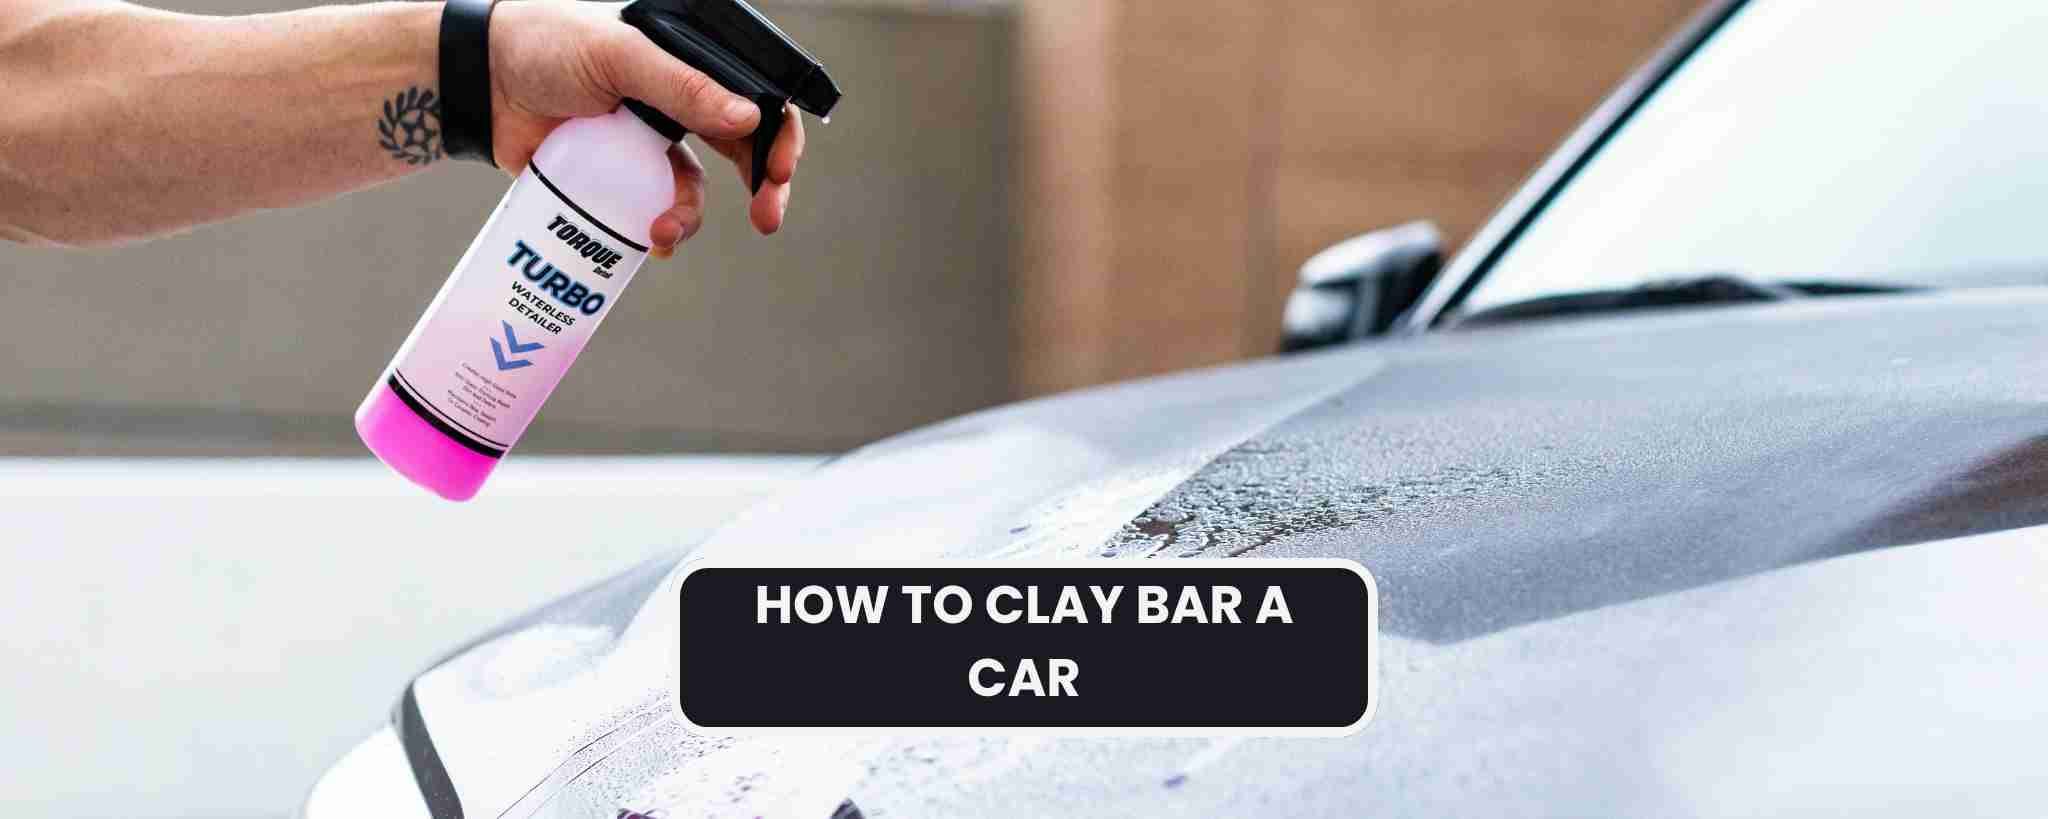
Step 3: Apply Clay Lubricant Generously
Mist a 2'x2' section with lubricant. Avoid using plain water or household soaps, which can damage both clay and paint.
Step 4: Glide the Clay Bar
- Flatten a small piece of clay into a disc.
- Glide it in straight lines with light pressure.
- If you hear or feel friction, contaminants are being removed.
- When the surface feels smooth and the clay glides freely, you’re done with that section.
- Knead the clay to expose a clean surface after each section.
- Repeat panel by panel, working your way around the car.
TOUCH TEST
Place your hand in a plastic sandwich bag and run it over the surface. If it feels smooth, your clay bar session is complete.
Note: A 2-oz bar can typically do two to three full cars if kept clean. However, if dropped or visibly soiled, always discard the bar to avoid scratching your paint.
What Should You Do After Clay Barring?
Once you’ve clayed the entire vehicle, rinse off any leftover residue and dry it with a clean microfiber towel. The surface is now completely decontaminated and unprotected. This is the perfect time to apply a protective layer.
- Wax offers a warm glow and protection for 4-6 weeks.
- Sealants provide synthetic protection that can last 4-6 months.
- Ceramic coatings offer long-term hydrophobic and UV protection, lasting up to 2 years with proper care.
Skipping this step could expose your freshly cleaned surface to new contamination.
Note: Store your remaining clay bar in its original packaging or a plastic bag if you want to use it in the future as well. Make sure it stays slightly moist to keep it pliable for future use.
Clay Bar Alternatives: Mitts, Towels, and Pads
| Traditional Clay Bar | Clay Mitt | Clay Towels | Clay Pads |
|---|---|---|---|
| More precise, better for heavy decontamination. | Covers large panels quickly, washable, and is great for maintenance. | Ideal for flat panels and fast work, reusable. | Attach to DA polishers, ideal for professionals needing speed. |
| Best Products: Meguiar’s, Mothers California Gold | Best Products: Nanoskin Autoscrub | Best Products: Griot’s Garage Prep Towel | Best Product: Nanoskin | AS-006 AutoScrub 6-Inch Fine Grade Foam Pad |
When Should You Clay Bar Your Car?
You can clay bar a car whenever you feel it is necessary; however, there are some specific conditions where you might have to clay bar your car more often:
- After winter (road salt)
- During spring (tree sap and pollen)
- After long trips or highway driving (bug splatters and road tar)
- If you live near industrial zones or coastlines (fallouts)
Common Mistakes to Avoid While Clay Barring a Car
- Using water or dish soap as a lubricant: Increases friction and degrades the clay.
- Claying a dry car can damage the clear coat.
- Pressing too hard: Clay is designed to glide with light pressure. Let the product do the work.
- Skipping protection afterward: Leaves the clear coat exposed to rapid contamination.
- Reusing contaminated clay: Always inspect and discard if it looks dirty or if dropped.
Common Questions About Clay Bar Treatments
Can You Clay Bar Your Car Yourself?
You can clay bar your car yourself by using a clay bar kit with lubricant, working in small sections, and applying light pressure. Always follow up with a wax or sealant to protect the paint. Clay barring removes surface contaminants and restores smoothness without damaging clear coat.
Is It Worth Clay Barring Your Car?
Clay barring your car is worth it because it removes bonded contaminants, restores surface smoothness, and enhances paint clarity. It also extends the life of wax and sealant while preventing oxidation and surface damage. Regular use keeps your car’s finish looking cleaner and lasting longer.
Will the Clay Bar Remove Old Wax?
A clay bar will remove old wax and other protective sealants from your car’s surface. Clay barring strips away contaminants and any existing layers of wax, making it essential to reapply wax or sealant after use to protect the paint and maintain a glossy finish.
Does the Clay Bar Remove Scratches?
A clay bar does not remove scratches because it contains no abrasives. Instead, it removes surface contaminants like brake dust, water spots, and industrial fallout. While it won’t fix paint damage, it smooths the surface and enhances shine, making the car appear cleaner and more polished.
Should You Wash Before or After the Clay Bar?
You should wash your car before applying a clay bar to ensure that the surface dirt and debris are removed completely and you don’t get any scratches.
You can also rinse your car after the clay bar process to remove any leftover clay lubricant or residue before applying wax or sealant.

Parham Koukia
Lead Car Detailer / Operations Manager
With nearly 15 years of hands-on detailing experience, Parham has become a trusted authority in the auto care world. His work is regularly spotlighted in leading outlets like CNN, GoBankingRates, and Family Handyman. Parham likes to share his knowledge to offer in-depth tips on equipment selections, seasonal car care, and some secret car cleaning tips used by detailers in the real world!
Read more


